Proper installation is key to maximizing the performance of any concrete joint filler. SpecChem’s Rapid Flex CJ and Rapid Flex 90 have been engineered for ease of use and efficiency, ensuring a streamlined application process that can save time and reduce costs. Here’s your comprehensive step-by-step guide to applying Rapid Flex products, ensuring optimal results every time.
Step 1: Surface Preparation
The success of Rapid Flex application starts with proper surface preparation. Ensure that the concrete joints are clean, dry, and free from any debris, dust, or water. Use a quickie saw or similar tool to clean out the joints, creating a fresh surface for the filler to adhere to. Remember, even a small amount of moisture can affect the curing process, so the drier the area, the better.
Step 2: Temperature and Material Preparation
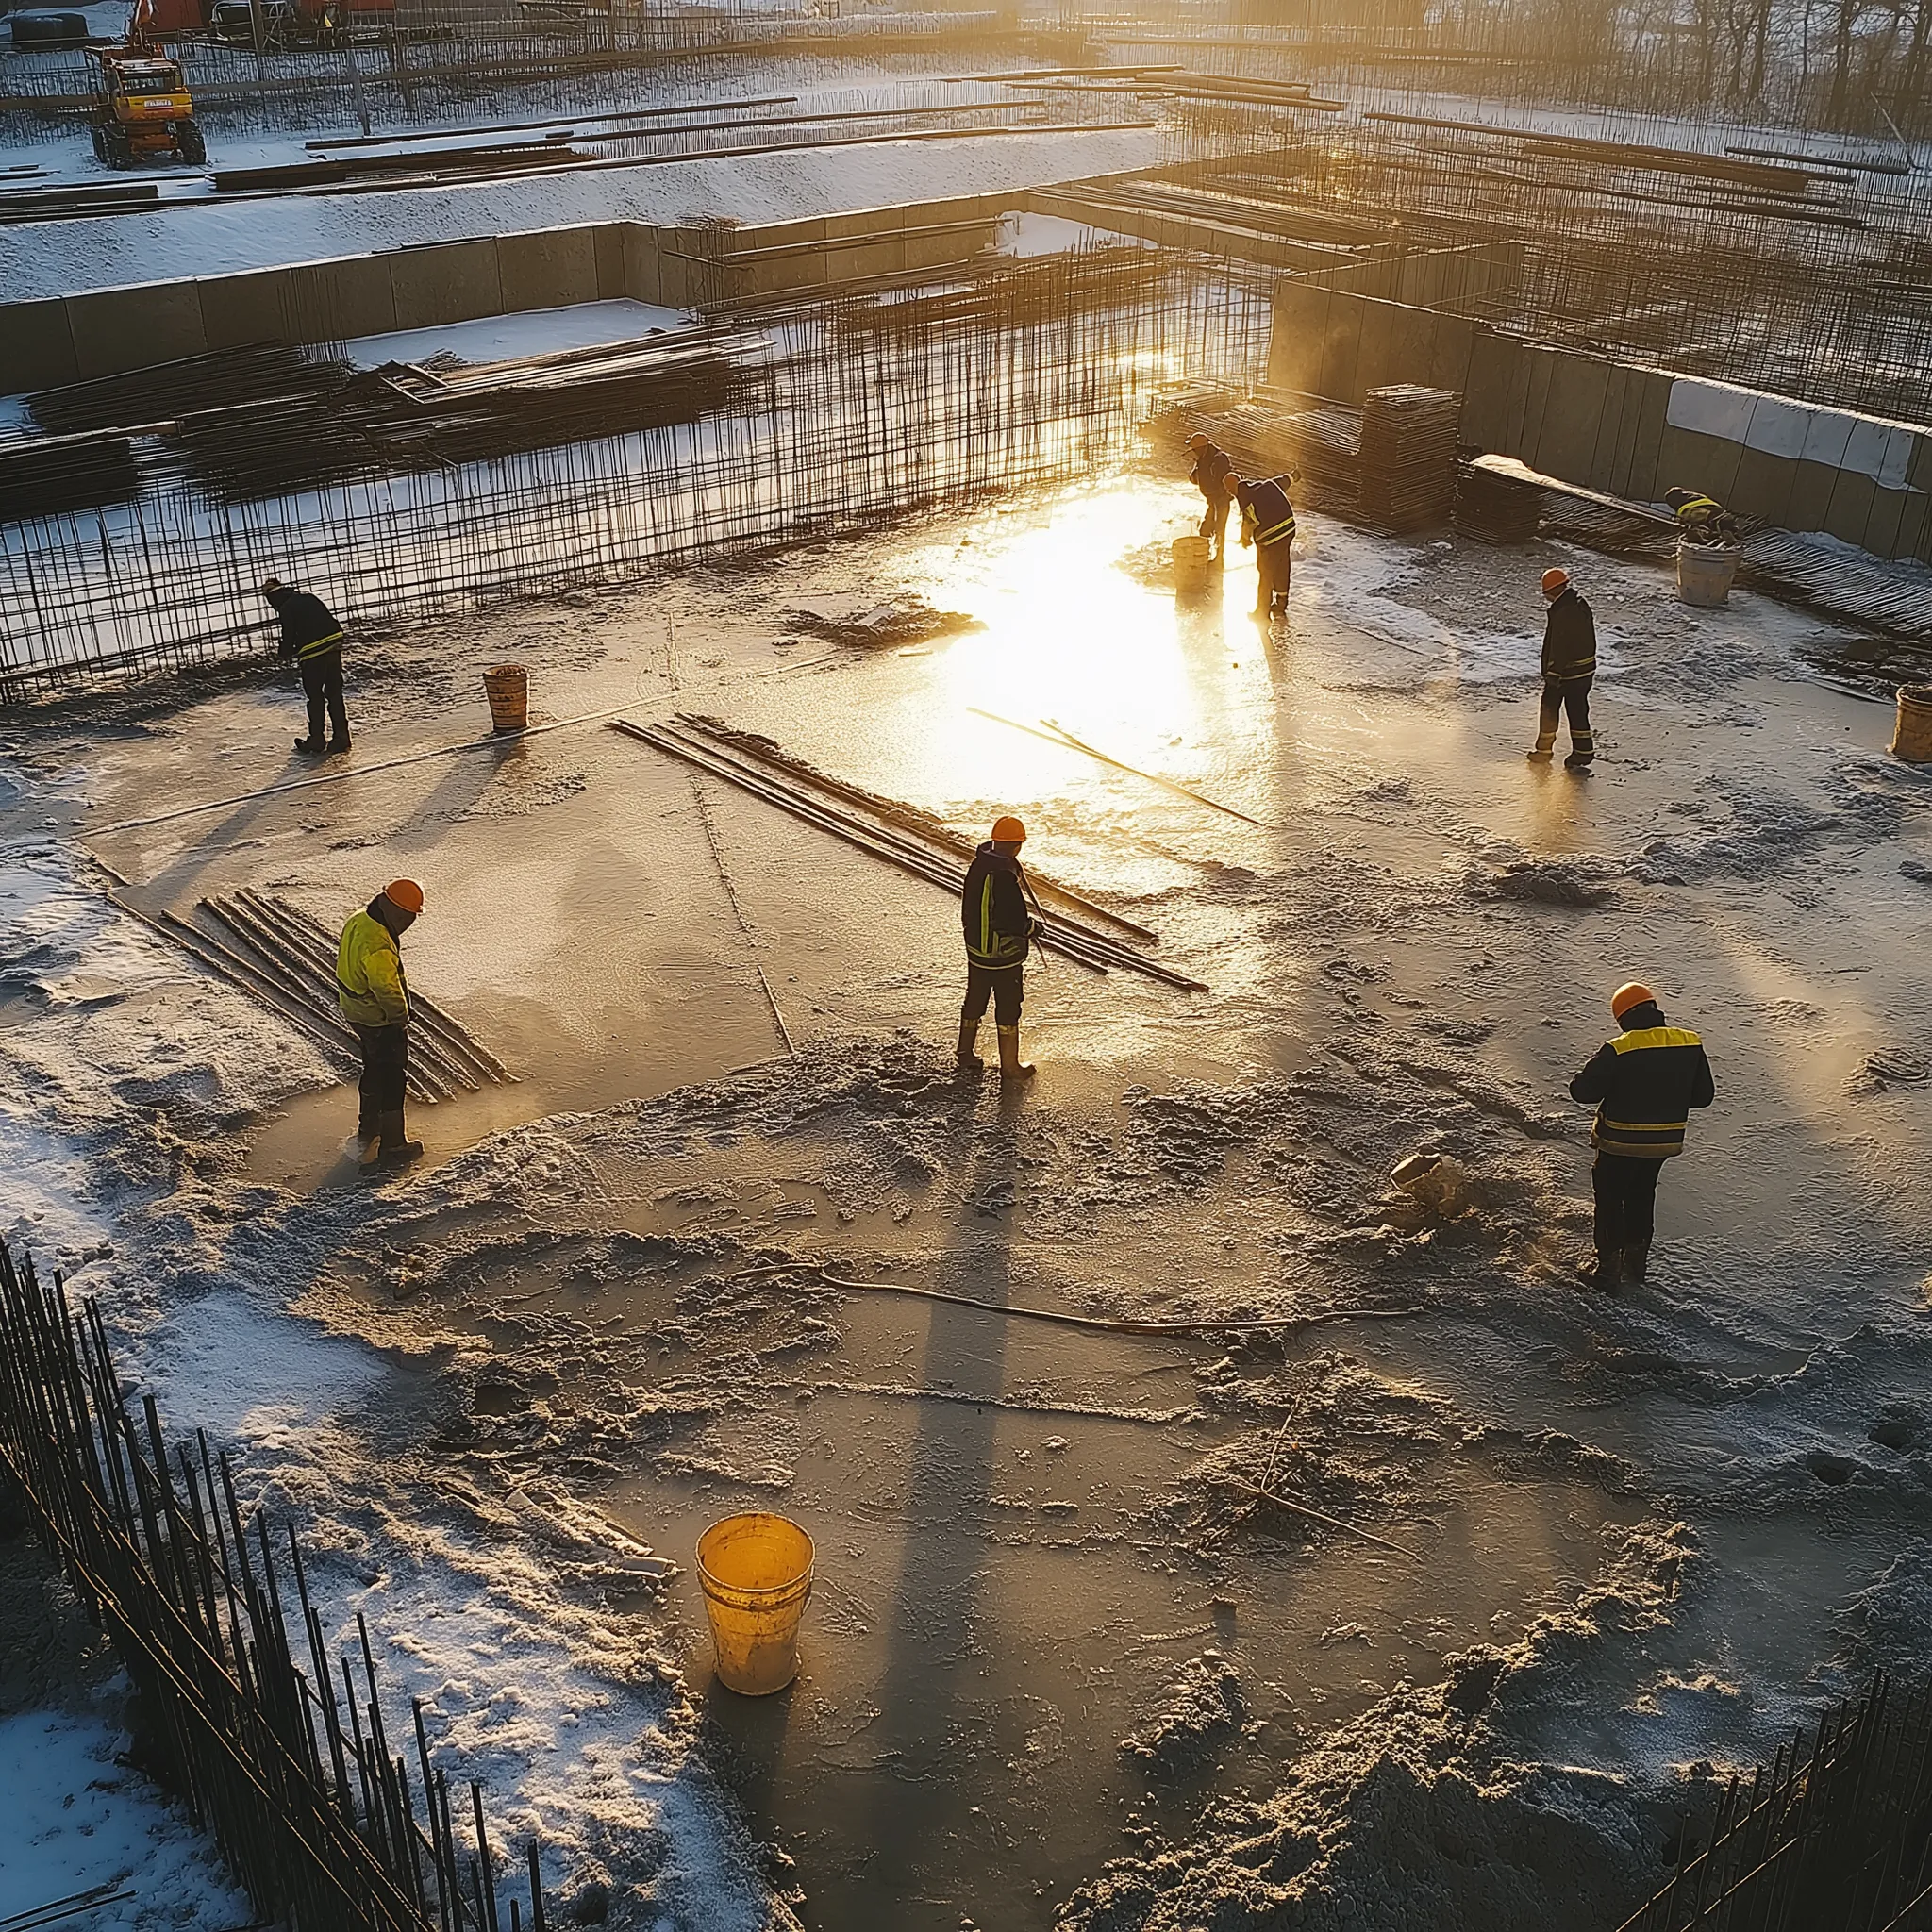
Rapid Flex products can be applied in temperatures as low as minus 20 degrees Fahrenheit, but ensuring the material is at the right temperature before mixing is crucial. If working in colder conditions, preheat the material to maintain a consistent set time, facilitating a smoother application and curing process. Always check the product’s temperature and mix according to SpecChem’s recommendations.
Step 3: Mixing
Proper mixing is essential for the performance of Rapid Flex fillers. Follow the mixing instructions provided by SpecChem carefully. For Rapid Flex CJ and 90, ensure that the components are thoroughly mixed to achieve a consistent, homogenous blend. Avoid under or over-mixing as it can affect the curing time and the final quality of the joint filler.
Step 4: Application
Apply Rapid Flex using a dual-component pump system or manual application method, depending on the project’s scale and the product version. Ensure full-depth installation for control joints to prevent voids or weak spots. For construction joints, consider using a backer rod to choke off the joint filler so that the material does not run through the joint.
Step 5: Shaving and Finishing
One of the significant advantages of Rapid Flex is the fast curing time. Rapid Flex CJ, for example, can be shaved 30 minutes after application, a substantial improvement over traditional epoxies. Once hard, the overfill should be shaved flush with the slab. This creates a smooth transition of load over the control joint.
Step 6: Cleanup
After the application and shaving process, clean your tools and the surrounding area promptly to avoid any material curing on unwanted surfaces. Rapid Flex products are easier to clean when they are not fully cured, so timely cleanup is advisable.
Step 7: Inspection and Touch-Up
Finally, inspect the filled joints for any imperfections or missed spots. If necessary, apply additional material to fill any voids and ensure a smooth, continuous surface. After the final curing, perform a walk-through to ensure all joints meet the project’s specifications and standards.
Additional Tips
- Always wear appropriate safety gear during application, including gloves and eye protection.
- Ensure that the joint sides are supported well to prevent the filler from sagging or leaking out before it cures.
- In cooler temperatures, keep the material warm before application to ensure optimal flow and curing.
- Be mindful of the product’s pot life and working time to ensure it is applied and shaped before it begins to set.
By following these steps, contractors can ensure a successful application of Rapid Flex CJ and Rapid Flex 90, leading to durable, long-lasting, and aesthetically pleasing results. Remember, the key to a successful project lies in preparation, precision, and choosing the right products for the job – and with Rapid Flex, you’re equipped to tackle any challenge that comes your way.


